

|
|
|
|
|
|
#1
 08-31-2008, 09:30 PM
|
||||
|
||||
|
Removing tint from rear defrost lines and reapplying new tint
The tint on my hatch window had some scratches that cut through the tint. There are defrost lines on the window and I thought I'd post a safe way to remove the tint without damaging them.
Here's the old tint with scratches.  Here's what I used for the removal process. Dentaured alcohol, terry towels, shop towels, gloves, plastic bags, and duct tape. 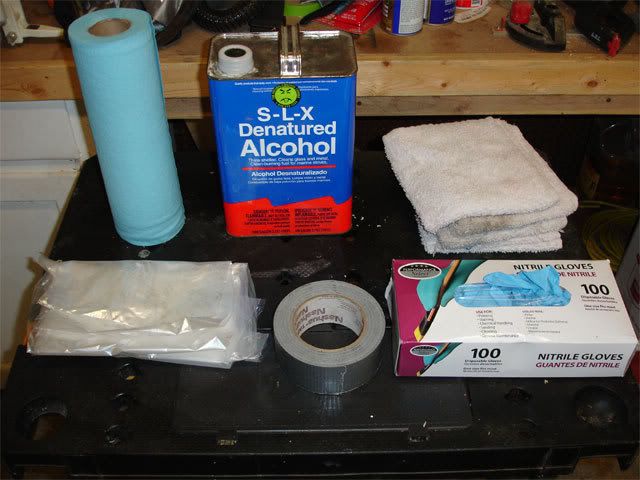 Make a cover out of the bags about the size of the window. Then wet the shop towels with the denatured alcohol. Use the bag to tape the towels up against the window to soften the adhesive layer in the old tint film. This allows the alcohol to work without evaporating too quickly. Make sure you have PLENTY of ventilation. I forgot to take a pic with the bag holding the towels up.  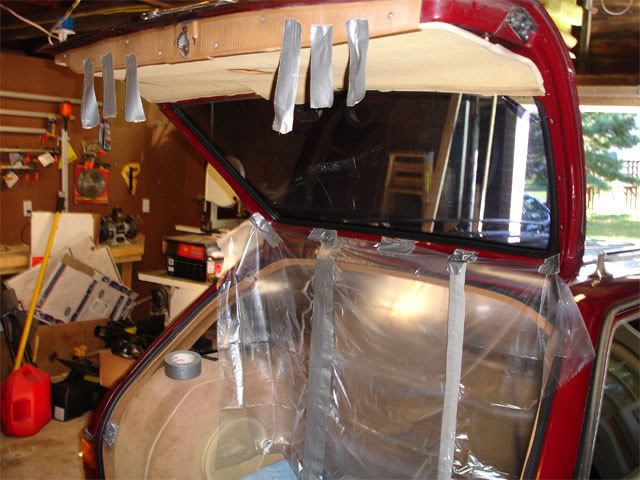 After about 10 minutes, pull the bag and rags down and start pulling the tint off from a corner. Keep an alcohol soaked terry towel to wipe the adhesive layer as you pull the tint off. If the tint separates from the clear plastic layer or the defrost lines lift, you need to soak the tint with the rags longer. You can just hold the terry towel in the problem spot for a minute and start pulling again. It should come off fairly clean. Just pull steadily and allow the film to pull off the glass with the adhesive layer still attached to the tint film. Some of the adhesive will be left on the window, but the denatured alcohol will clean it off easily without damaging the defrost lines. 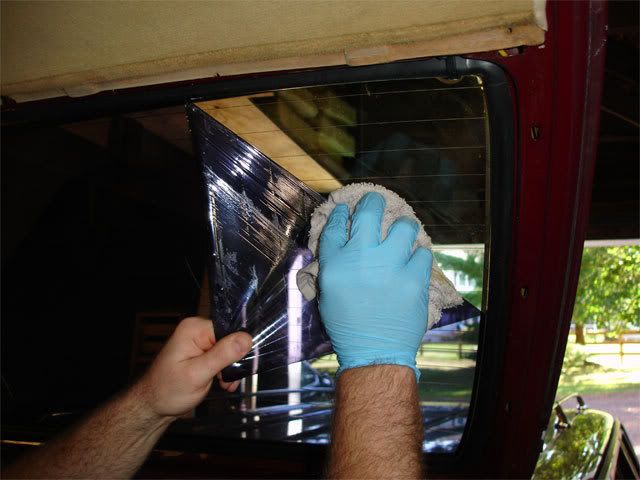 Old tint removed:  Here are the tools needed for tint application. Scissors, razor blade, spray bottle with tint application fluid (mixed with distilled water), tint, and a good tinting squeegee. 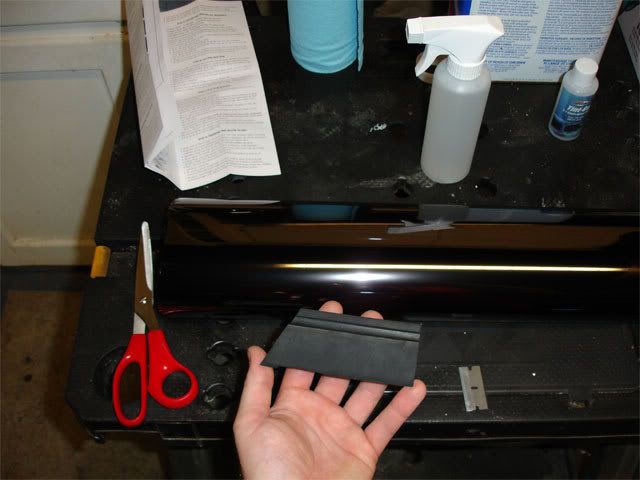 First clean the inside and outside of the window TWICE with the tint application fluid. Then cut the tint to the general shape of the window, but oversize. Then spray the application fluid to the outside of the window and squeegee the tint to the window so you can cut the exact shape needed carefully with a razor blade. This is done with the adhesive size toward you with the protective film layer still intact. 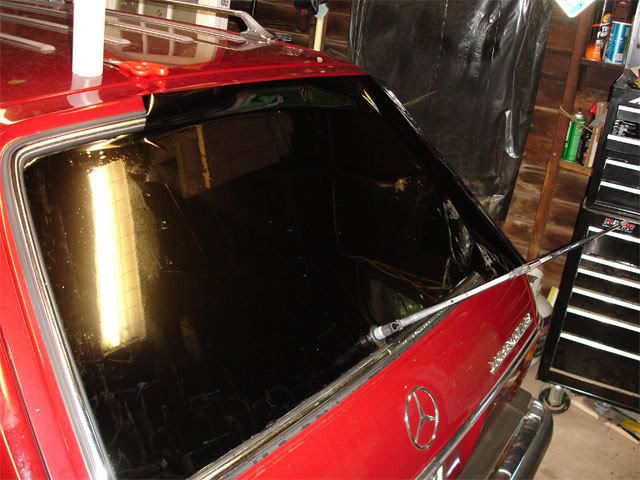 Once you have the shape the way you want it, get a helper to assist you with removing the protective film layer. You don't want to kink the film and you need 3 or 4 hands to do this properly. Spray the inside of the window thoroughly with the application fluid. Using a piece of tape on both sides of the tinting film, pull the protective layer apart from the tint. Spray the adhesive side of the tint film with the application fluid as you remove the protective film. This will activate the adhesive and keep static from building up. Then apply the tint to the inside of the window, adhesive side toward the glass, and position it properly. Since everything is wet with the application fluid, the tint will slip around easily. Then carefully squeegee all the water and air bubbles out from under the film. Start in the center and work everything to the edges. Make sure to keep the film wet with the application fluid so the squeegee glides smoothly on the film. 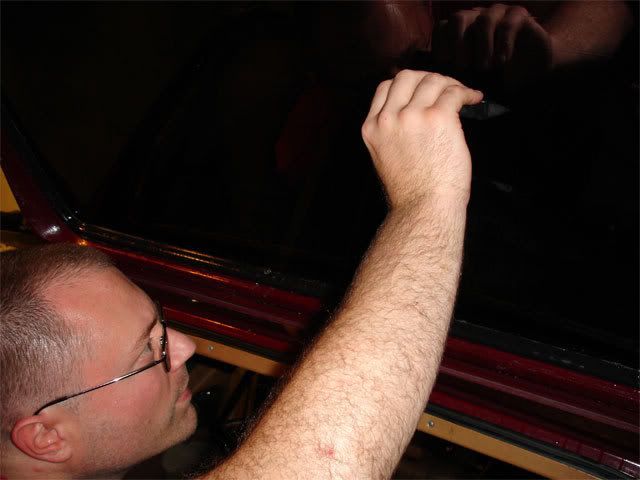 Once all the water and bubbles are swiped out from under the tint, you're done. Just allow a few days for the tint adhesive to cure. If this is a window that rolls up and down, give it a week before opening and closing it. 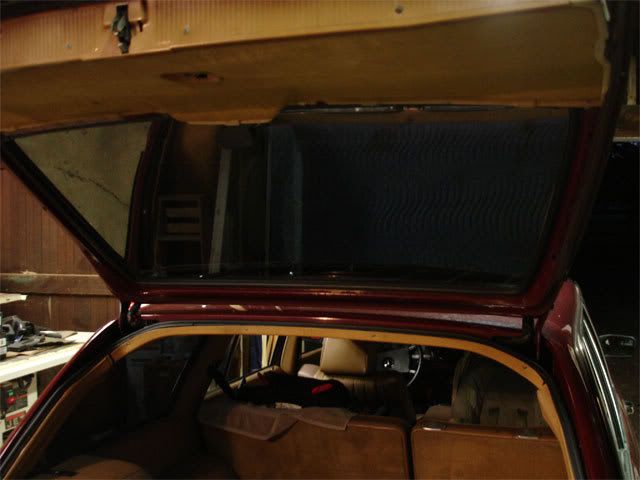 All Done  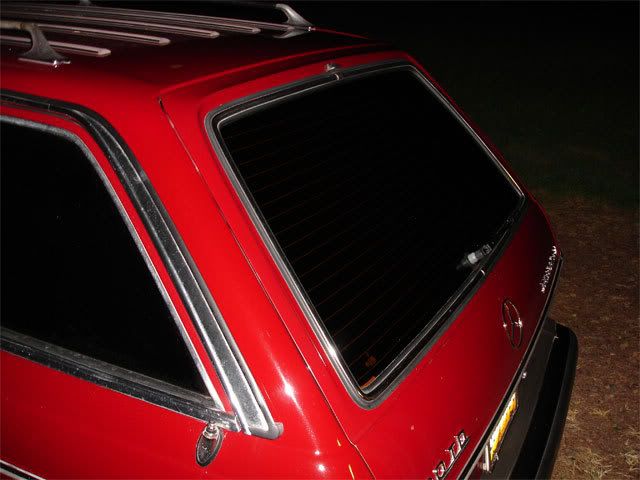
__________________
Chad 2013 Jeep Unlimited Rubicon OBK#44 "Pleasure in the job puts perfection in the work." - Aristotle (384-322 B.C.) SOLD 1985 300TD - Red Dragon 1986 300SDL - Coda 1991 - 300TE 1995 - E320 1985 300CD - Gladys 2006 Nissan Pathfinder LE 1998 Acura 3.0 CL 
|
| Bookmarks |
|
|


 Threaded Mode


