

|
|
|
|
|
|
#1
 09-09-2013, 12:35 PM
|
||||
|
||||
|
DIY - w126 Memory Seat Switch disassembly and cleaning
After determining that the memory seat switch was the cause of faulty seat operation, I removed the switch from the door.
I took the switch to my workbench and worked on a couple of shop towels. This is important when opening the switch since the ball bearings and springs can roll away otherwise. The first thing to do is put a piece of tape over the memory buttons. This will keep them from falling out when you disassemble the switch and makes it much easier to reassemble later. 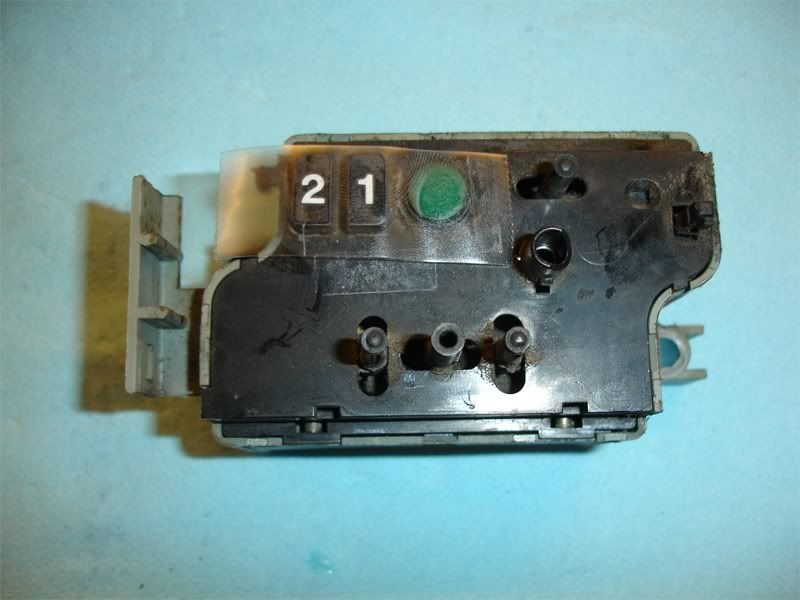 Next, remove the philips screw from the back of the switch. This screw holds the halves of the switch body together. 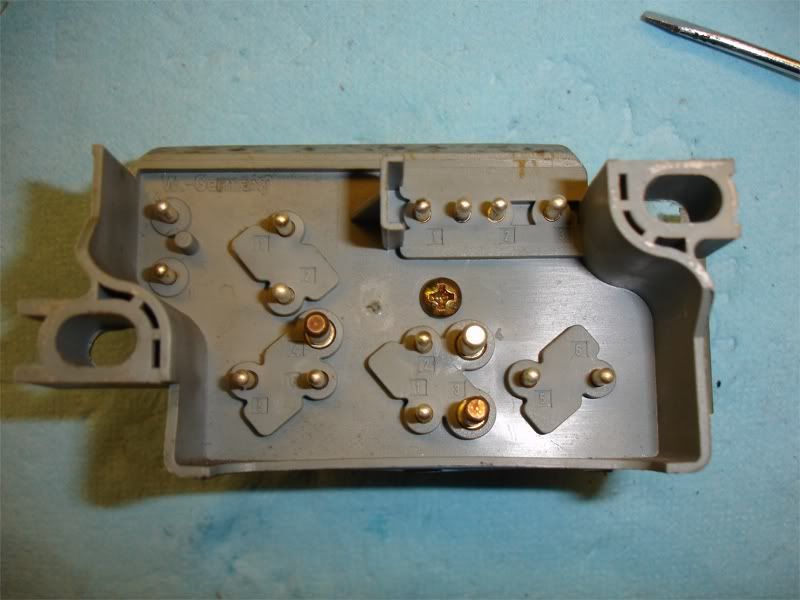 Use a thin blade screwdriver or pry tool to gently pry apart the snap-together halves of the switch body. Work around carefully and the top will lift off. 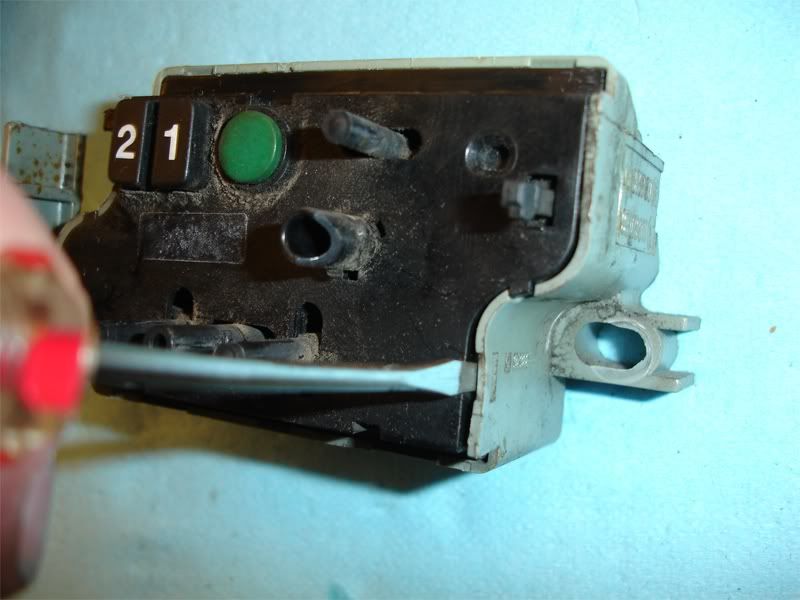 When you lift off the top, the pieces inside will most likely tumble around and the ball bearings and springs will drop, so be careful and lift the lid slowly so you don't lose any parts. As you can see my switch internals were filthy and sticky. 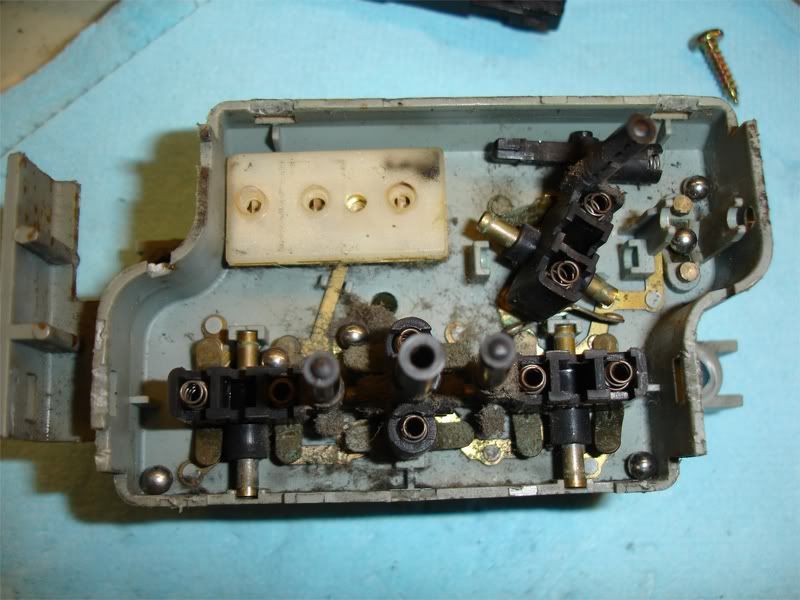 Using a brush, compressed air in a can, a bit of solvent on a rag, and some emery cloth I cleaned all the contacts, levers, bearings and springs. Notice that I left the front to back seat bottom switch in place. It can be removed, but I thought the risk of breaking the tabs for this piece was too great. I carefully cleaned the contacts and lubed the switch with dielectric grease with it in place.  Next, I placed all the levers and the head-rest switch ball bearing into the switch body. 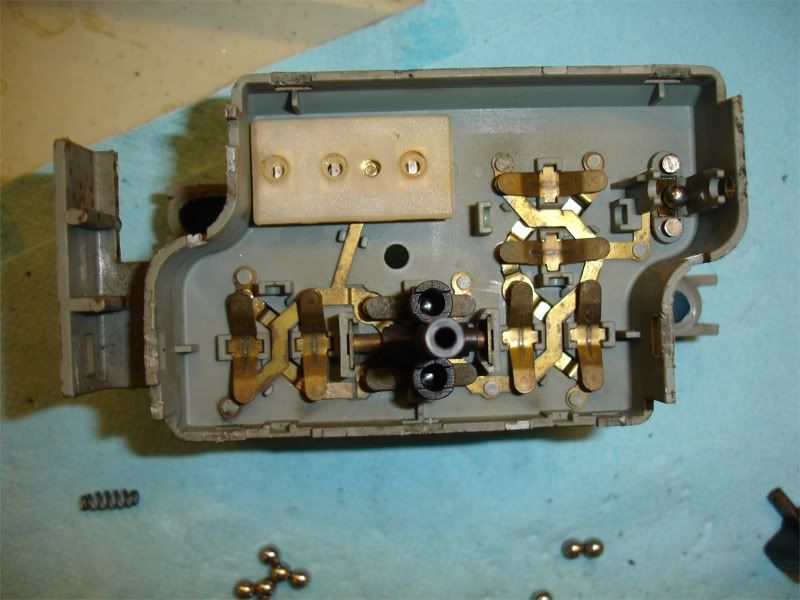 Then I put all the plastic switch pieces back in. Make sure you have them positioned so the switches can move correctly. Once the switches are in place, drop a ball bearing into each hole over the lever ends. 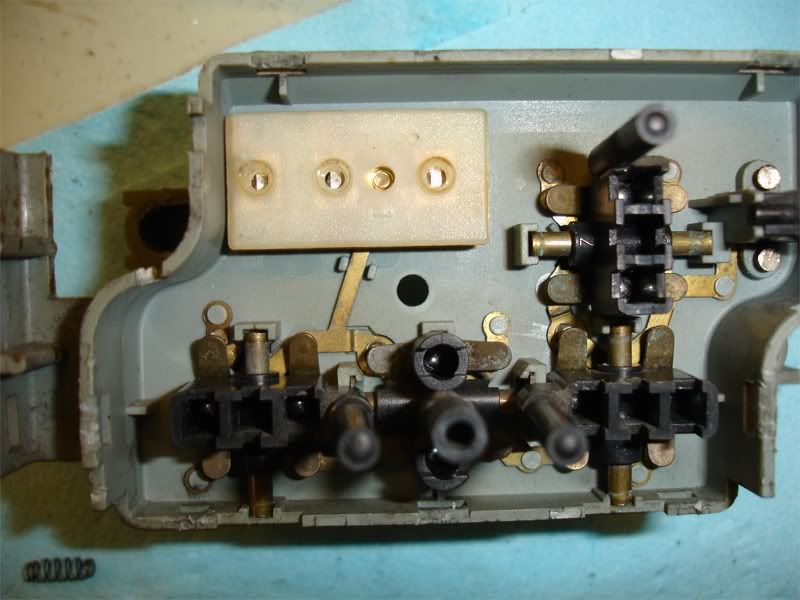 Put a dab of dielectric grease on one end of each spring. This step is very important since it holds the second set of ball bearings in place when you close everything up. 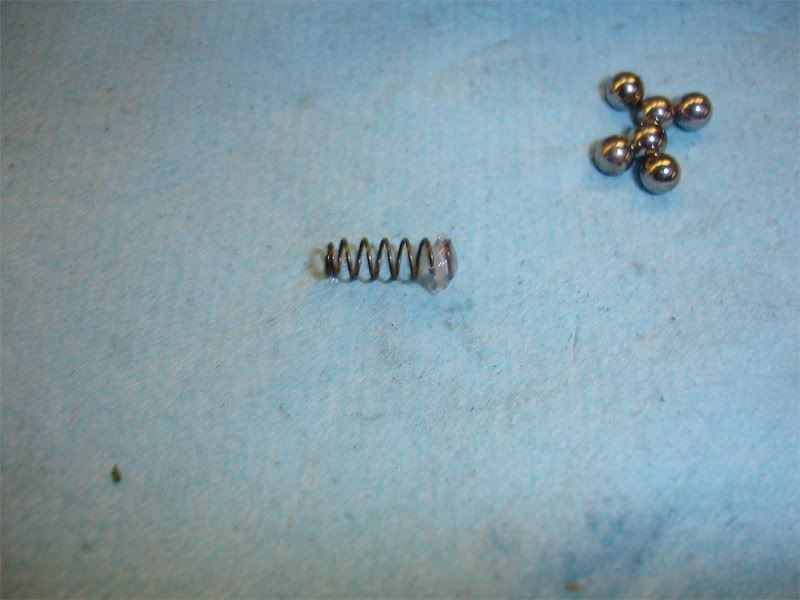 Put all the springs into the holes on top of the ball bearings. Be sure to keep the greased side up. 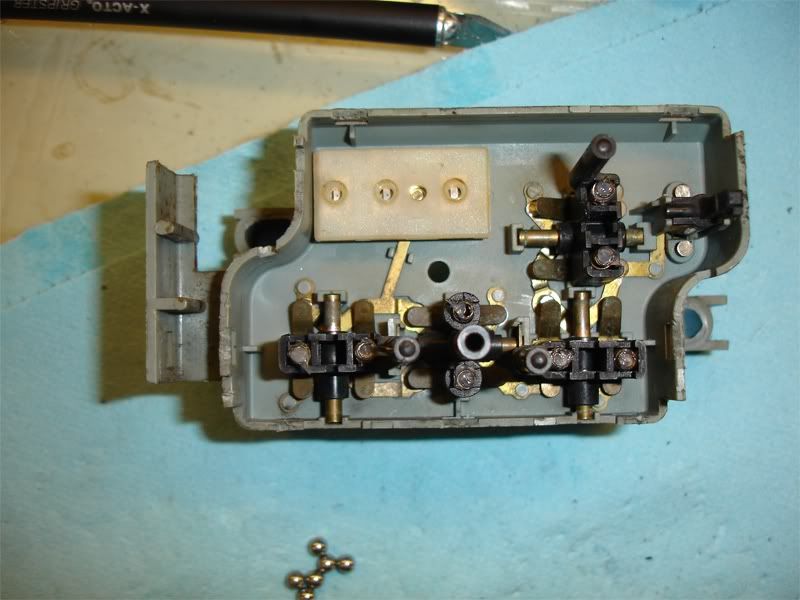 I used a needle nosed pliers to place a ball bearing on top of each spring. Make sure it is seated in the spring end properly. 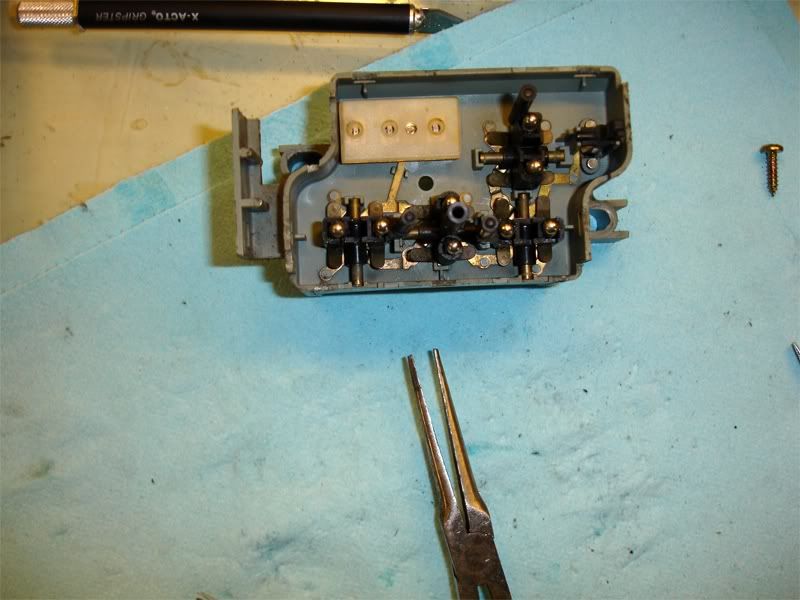 Finally, make sure all the switch levers are centered in their slot and carefully lower the cover back over it. Keep the lid level as you line it up and snap the halves back together. Then put the philps screw back into the rear of the switch, remove the tape off the memory buttons and your switch is ready to use. 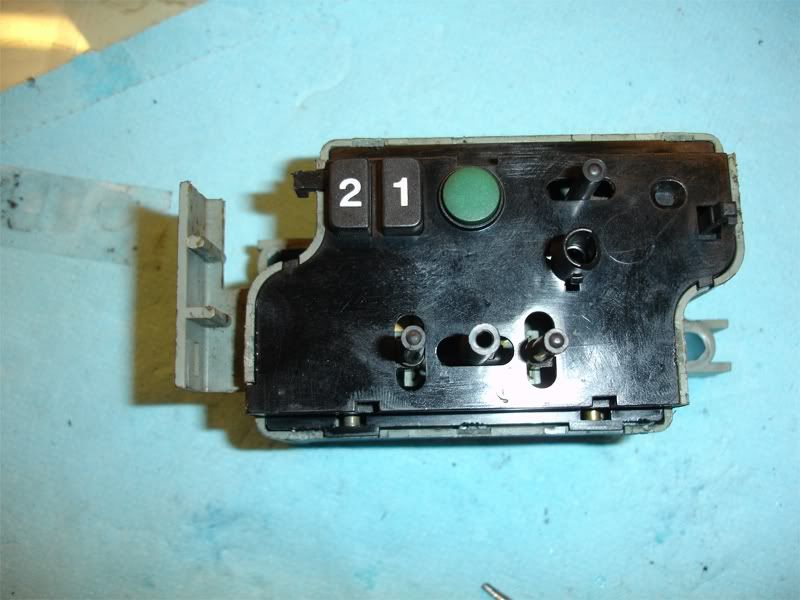 Cleaning these switches may be a bit more difficult than the w123 switches, but it wasn't that bad and took about 15 minutes.
__________________
Chad 2013 Jeep Unlimited Rubicon OBK#44 "Pleasure in the job puts perfection in the work." - Aristotle (384-322 B.C.) SOLD 1985 300TD - Red Dragon 1986 300SDL - Coda 1991 - 300TE 1995 - E320 1985 300CD - Gladys 2006 Nissan Pathfinder LE 1998 Acura 3.0 CL 
|
| Bookmarks |
| Thread Tools | |
| Display Modes | |
|
|


 Threaded Mode


