 |
 |
 |
 |

|


|
|
|
|
|
|
#11
|
||||
|
||||
|
Taking it to bits (3)
Moving to the front of the centre casing – remove the actuation assembly for the B3 brake band by pulling out a little clip.
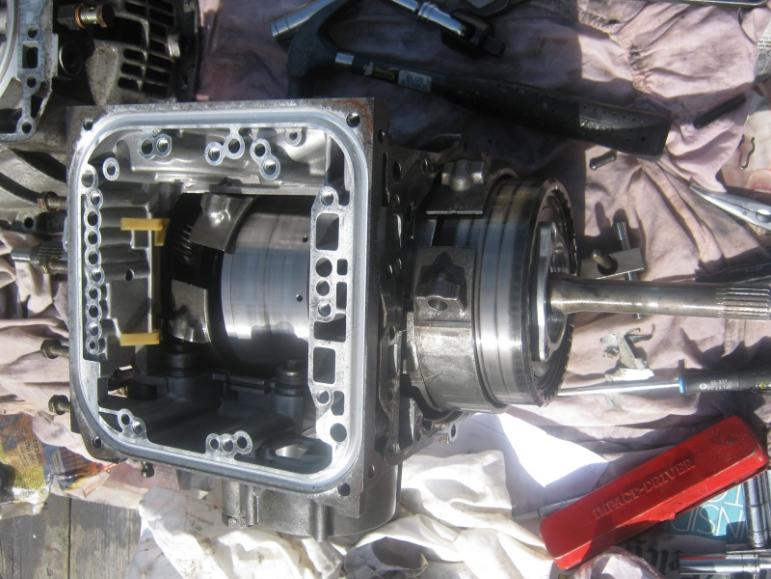
 This actuation assembly runs from the lug on the brake band to the B3 piston housing. Removal of the actuation assembly is achieved by knocking the pin “up” and out of the casing.  You can now wiggle the solid rod on the other side of the B3 brake band out of the way. These little solid torpedo bullet-like rods are also positioned on the non actuated sides (the stays) of the B2 and B1 brake bands. Take these out too.  You can now slide the gear set out of the casing on its prosthetic limb coloured plastic holder.  You can see from the picture above I didn't get it quite right. In some ways it was lucky that the brake bands were already knackered! Don't forget to remove those pins on the brake band stays. This is what the inside of the casing will look like – there is still a bit left in there... 
__________________
1992 W201 190E 1.8 171,000 km - Daily driver 1981 W123 300D ~ 100,000 miles / 160,000 km - project car stripped to the bone 1965 Land Rover Series 2a Station Wagon CIS recovery therapy! 1961 Volvo PV544 Bare metal rat rod-ish thing I'm here to chat about cars and to help others - I'm not here "to always be right" like an internet warrior Don't leave that there - I'll take it to bits! Last edited by Stretch; 09-09-2011 at 05:26 PM. |
| Bookmarks |
|
|